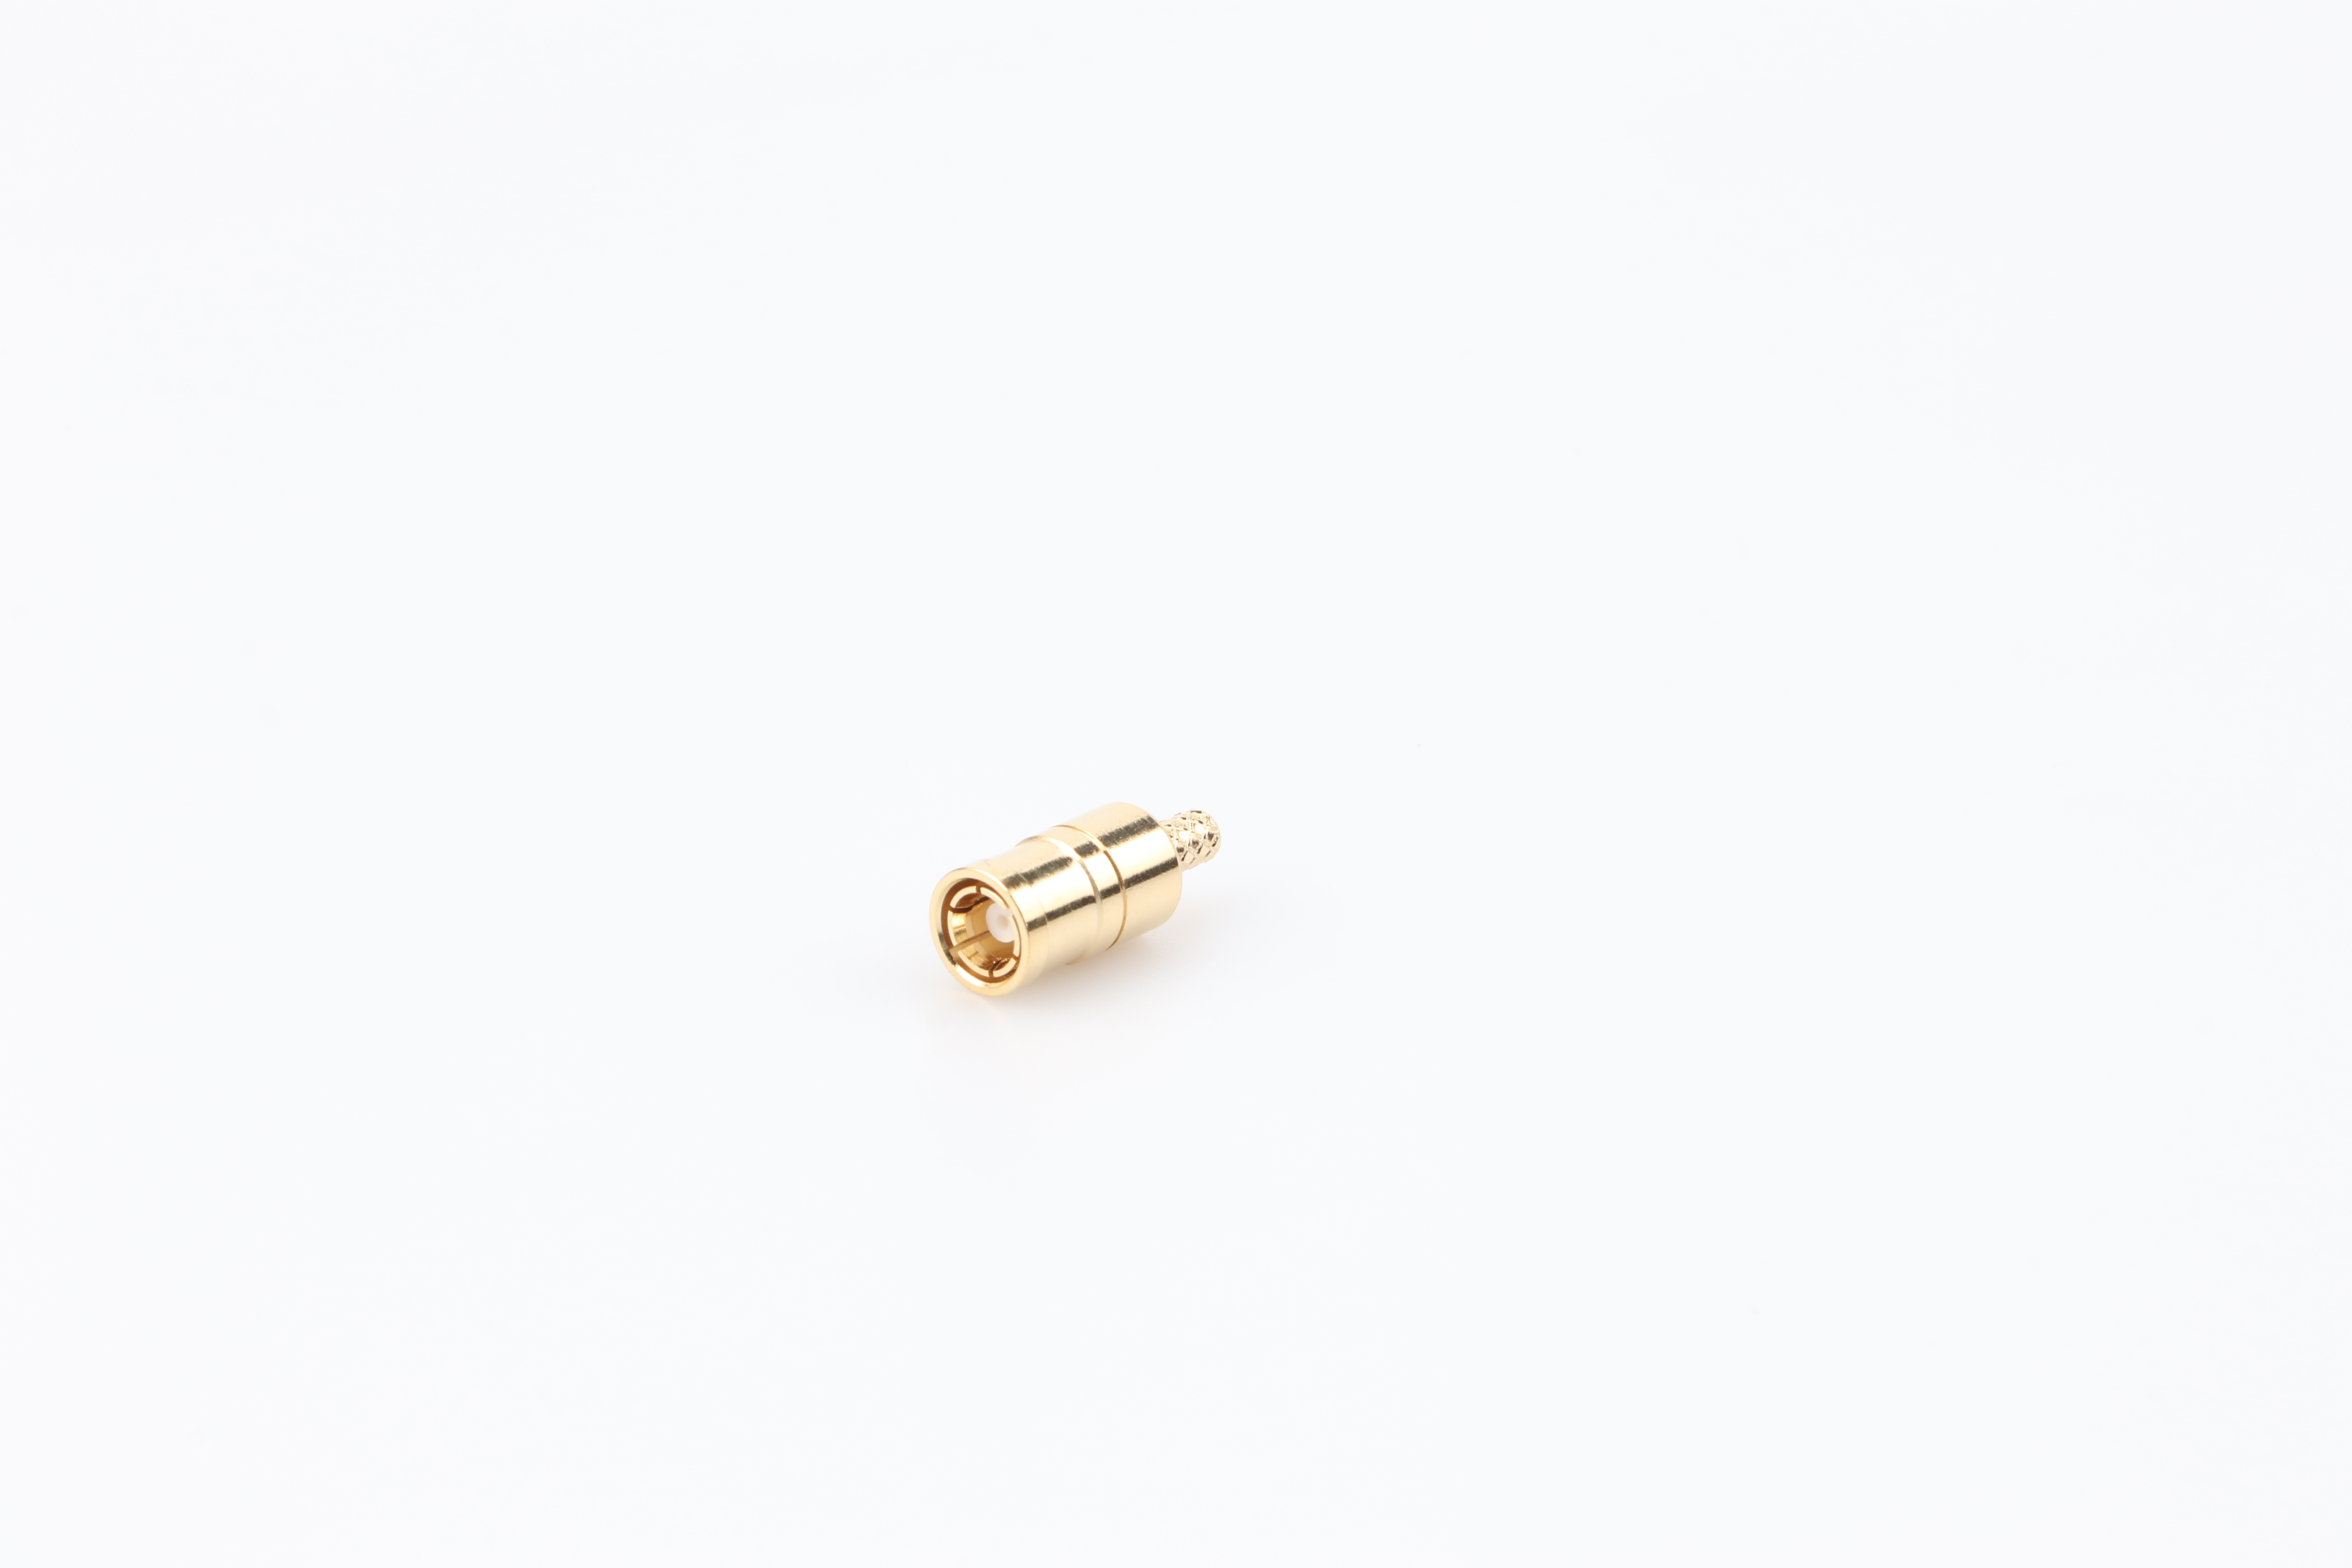
SMA connectors are a popular type of RF connector used in a variety of applications, from telecommunications to radio communications to test and measurement equipment. They are known for their durability, high frequency capabilities and ease of assembly. In this article, we'll provide a step-by-step guide on how to assemble an SMA connector.
Step 1: Gather materials
Before you start assembling the SMA connector, make sure you have all the necessary materials. You will need:
an SMA connector
A coaxial cable has the right diameter for your SMA connector
a pair of pliers
AWire strippers
Soldering iron and solder
Heat shrink tubing (optional)
Step 2: Strip the Cables
Start by stripping the coax cable. Use wire strippers to peel off the outer sheath to expose the inner conductor and shield. Be careful not to damage the shielding or conductors.
Step 3: Prepare connectors
Next, prepare the SMA connector by unscrewing the outer barrel and sliding it over the cable. The barrel will have two parts: the outer shell and the inner sleeve.
Step 4: Attach inner sleeve
Attach the inner sleeve to the center conductor of the cable. Use pliers to crimp the sleeve onto the conductor, making sure it is securely connected.
Step 5: Attach the case
Slide the outer shell over the cable and onto the inner sleeve. Use pliers to crimp the housing onto the cable, making sure the connection is secure.
Step 6: Solder the Shield
Solder the shield to the housing of the SMA connector. Heat the connector with a soldering iron and apply a small amount of solder to the joint. Be careful not to overheat the connector or use too much solder.
Step 7: Slide on the Barrel
Slide the outer barrel over the connector and onto the SMA connector body. Screw the barrel onto the connector body until it is snug.
Step 8: Insulating Joints
If desired, you can use heat shrink tubing to insulate the joint between the connector and the cable. Slide the tube through the joint and heat it with a heat gun until it shrinks and forms a tight seal.
Step 9: Test the connection
Finally, test the connection to make sure it's working properly. Use a multimeter or other test equipment to check the connection for continuity and signal quality.
Best wishes, contact us immediately!

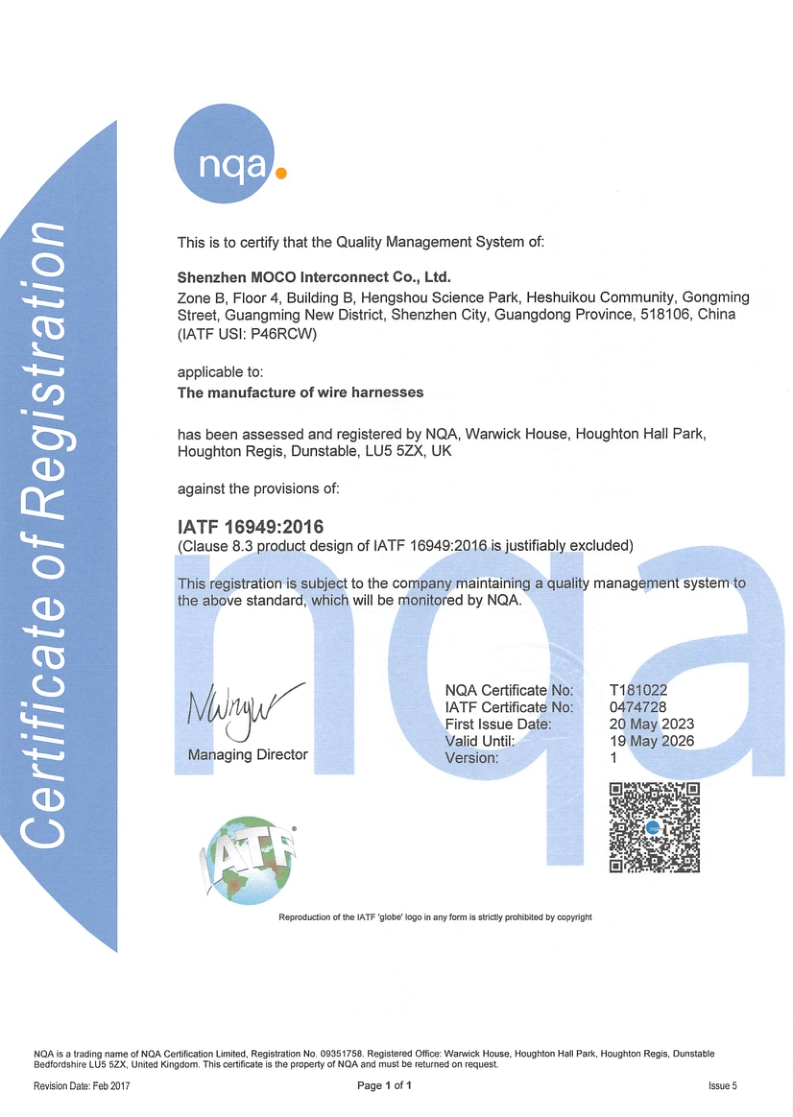
AUTHORITY: Passed GJB9001C-2017, ISO9001:2015, UL, CE and RoHS certifications

Flexibility: Quickly and flexibility response for customer requirements and market changes. Universal model are rich in stock to achieve fast delivery.

Professionalism: 10 years professional push pull connectors R&D experiences to meet customers’ customized requirements; Excellent sales team, 7/24 help customers to solve their problems.

AUTONOMY: Owned advanced imported production equipment and professional inspection and testing equipment to complete the production and testing independently
